Efficiency is one of the most important goals for modern businesses. Many teams are searching for ways to reduce repetitive tasks, connect tools easily, and ensure that their data stays accurate. Manual updates, missed follow-ups, and disconnected systems can slow productivity and affect customer satisfaction. Automation helps solve these problems by creating faster, smoother workflows.
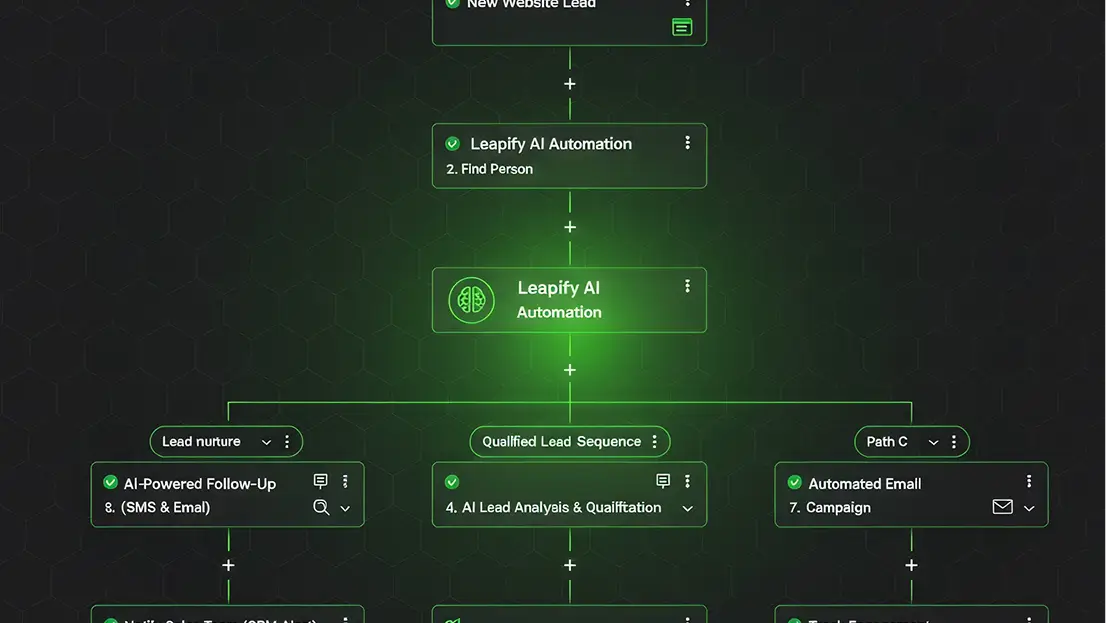
With the Zapier integration for Leapify, teams can connect their favorite apps and automate tasks with ease. From managing leads and tracking performance to syncing customer data, this integration ensures that every part of your business works together smoothly.
Why Use Zapier with Leapify?
Integrating Zapier with Leapify gives businesses the power to automate processes without coding. It is an efficient way to improve how your systems communicate and perform.
Save Time
Repetitive actions like updating customer records, sending follow-up messages, or transferring data can consume hours of work each week. With Zapier, these tasks happen automatically. For example, when a new lead is created in Leapify, that information can appear instantly in your CRM or spreadsheet.
Work Smarter
Leapify and Zapier make it easy to connect the tools your business already uses. You can integrate with CRMs like HubSpot or Salesforce and communication platforms like Slack. Everything becomes easier to manage when all your apps work together in one automated system.
Stay Organized
Keeping data synchronized across different platforms can be difficult. Zapier ensures that information remains accurate and updated in real time. As you manage leads, marketing campaigns, or contact lists, your records stay consistent everywhere.
Popular Use Cases: How Businesses Automate with Leapify + Zapier

Zapier provides flexibility for a wide range of workflows. With thousands of compatible apps, you can create automated actions based on your business needs.
Here are some popular use cases:
- Send new Leapify leads to Google Sheets automatically. Keep an organized record of leads for easy reporting and tracking.
- Create contacts in HubSpot or Salesforce from Leapify. Give your sales team instant access to new leads.
- Trigger SMS messages through Twilio when a new lead is created. Respond to prospects quickly and efficiently.
- Add new Leapify contacts to Mailchimp or Klaviyo lists. Streamline your marketing automation and personalized follow-ups.
- Post new leads into Slack channels for your sales team. Improve collaboration and response time.
Each of these workflows helps reduce manual effort, eliminates data errors, and keeps your systems connected automatically.
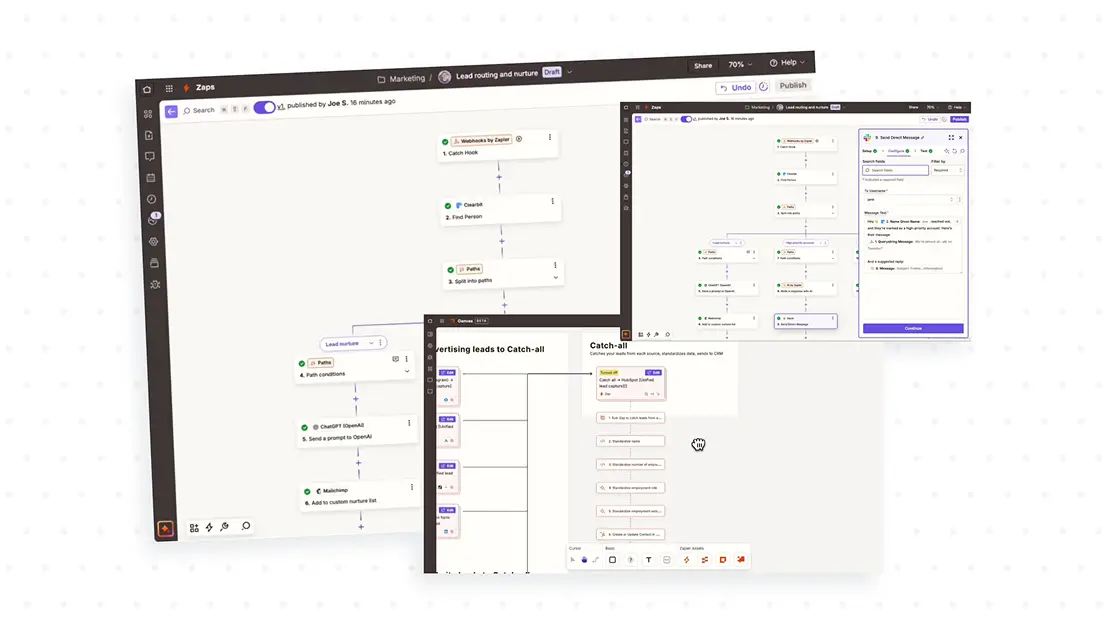
How to Connect Leapify with Zapier
Setting up Leapify with Zapier is simple. Follow these steps to start automating your workflow:
Step 1: Create a Zapier Account
If you do not already have one, visit zapier.com and create an account. Zapier offers both free and paid plans to fit your needs.
Step 2: Get Your Leapify API Key
- Log into your Leapify account.
- Go to Settings > Integrations > API Keys.
- Click Add Security Key to generate a new API key. This key securely connects Leapify to Zapier.
Step 3: Start a New Zap
- In Zapier, click Create Zap.
- Search for Leapify and choose it as your Trigger App.
- Select a trigger event such as New Lead Created.
- Paste your Leapify API Key when prompted.
Step 4: Choose Your Action App
- Select the app where you want Leapify to send data, such as Google Sheets, HubSpot, or Slack.
- Choose your Action Event, like Create Spreadsheet Row.
- Match Leapify’s fields to your selected app’s fields.
Step 5: Test and Turn On Your Zap
- Run a quick test to confirm that everything works.
- When the test succeeds, click Turn On Zap. Your automation will now run automatically.
- Your workflow is now live and ready to save you time while keeping your data in sync.
Tips for a Smooth Setup
Here are some helpful tips for setting up your Leapify and Zapier integration successfully:
- Test before activation. Always test your Zaps with real data to confirm that they perform as expected.
- Use filters. Zapier’s built-in filters let you control when an automation should run, allowing for better precision.
- Combine multiple actions. Create multi-step Zaps that handle several tasks at once, such as adding a new contact to both Mailchimp and Slack.
- Monitor regularly. Review your Zap history often to make sure all automated actions are running properly.
If you need additional help, the Leapify Help Center and support team are available at support@leapify.com
Frequently Asked Questions
Still have questions about using Leapify with Zapier? Below are some of the most common queries to help you understand how the integration works and how it can benefit your business.
1. What is the Zapier integration for Leapify?
The Zapier integration allows Leapify users to connect their favorite apps and automate workflows without coding. It helps send data between Leapify and thousands of other tools, such as Google Sheets, Slack, HubSpot, and Mailchimp, saving time and reducing manual work.
2. Do I need technical experience to use Zapier with Leapify?
No, you do not need any coding or technical background. Zapier’s interface is beginner-friendly, and Leapify’s integration setup uses simple steps to connect your apps through triggers and actions.
3. What are the most common ways to use Leapify with Zapier?
Many businesses use this integration to automatically send new Leapify leads to Google Sheets, create contacts in CRMs like Salesforce, trigger messages in Slack, or add leads to email marketing tools such as Mailchimp or Klaviyo.
4. How secure is the Leapify and Zapier connection?
Leapify uses secure API keys to connect with Zapier. Your data is encrypted and protected throughout the automation process, ensuring that sensitive information stays safe and private.
5. Can I edit or turn off a Zap after setting it up?
Yes. You can easily modify, test, or disable your Zaps from your Zapier dashboard at any time. This gives you full control over your automations and allows you to adjust them as your business needs change.
Automate Your Business with Leapify + Zapier
Automation helps businesses focus on growth instead of manual processes. By integrating Leapify with Zapier, you can build a customized system that removes bottlenecks, keeps data consistent, and simplifies communication between tools. From marketing and sales to operations and customer support, this connection ensures that your team stays efficient and organized.
Leapify gives companies the freedom to run their daily operations without unnecessary effort. With automated workflows and real-time data updates, your business can move faster and more accurately.
Start improving your workflow today. Try Leapify with Zapier and experience how smart automation can help your business run smoothly and efficiently.